
Tonight, I tried my hand at star trails for the first time. I figured I'd make a quick post with the steps I took to get this shot.

Tools:
a camera capable of shooting in manual. I used a Canon 7D.
tripod
remote shutter OR the ability to craft something to hold your shutter down, like I did, using a pencil eraser, tape, and a hair elastic
a dark, clear sky
this photoshop action for star trails
Steps:
First I took a few test shots to set the right exposures. I played around with settings and eventually came up with 25 seconds at f/10. I kept the ISO relatively low at 320, though in hindsight I could have increased it to get the stars to be more apparent. The lens I used was my sigma 10-20mm wide angle at 10mm. And last but not least, I set my camera to burst mode.

Once I got the settings I wanted, I rigged up my eraser/tape/hair tie shutter-holder-thingy and let the camera go. Or you could do the easy thing and use a remote shutter release, but I don't have one.
Meanwhile, I made dinner and made sure to check on my camera to be sure it was still snapping away.
About an hour and a half later, I decided to be done, mainly because I was excited to see the results! I loaded about 250 pictures into photoshop and then ran the aforementioned star trail action on them (read the directions on that website before running the action). I was happy with the star trails in the resulting image, but the tree was way too blurry.
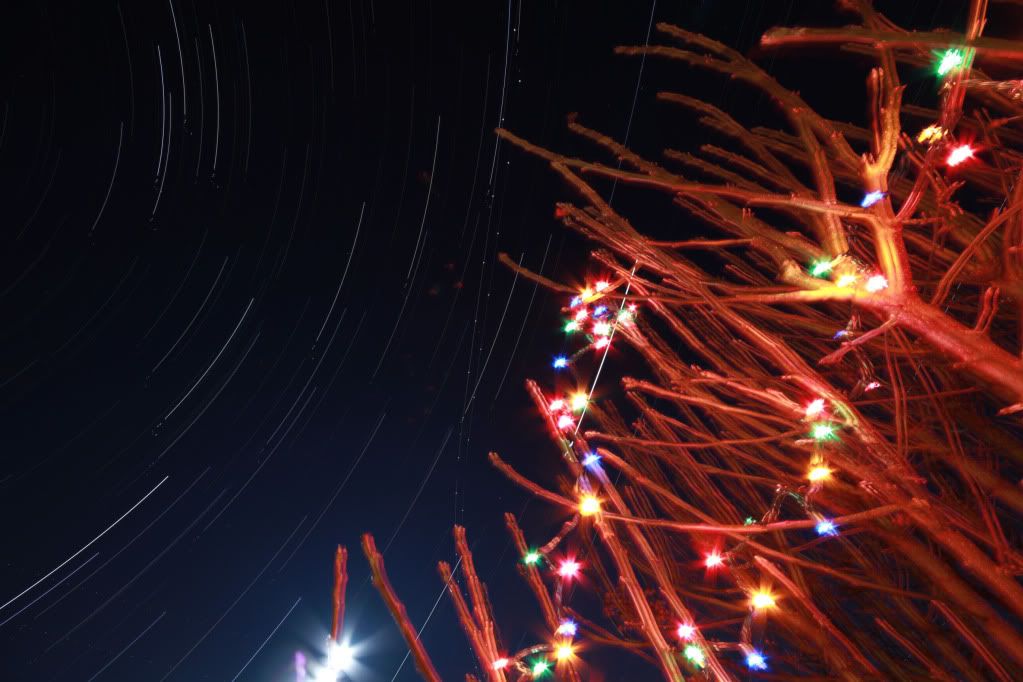
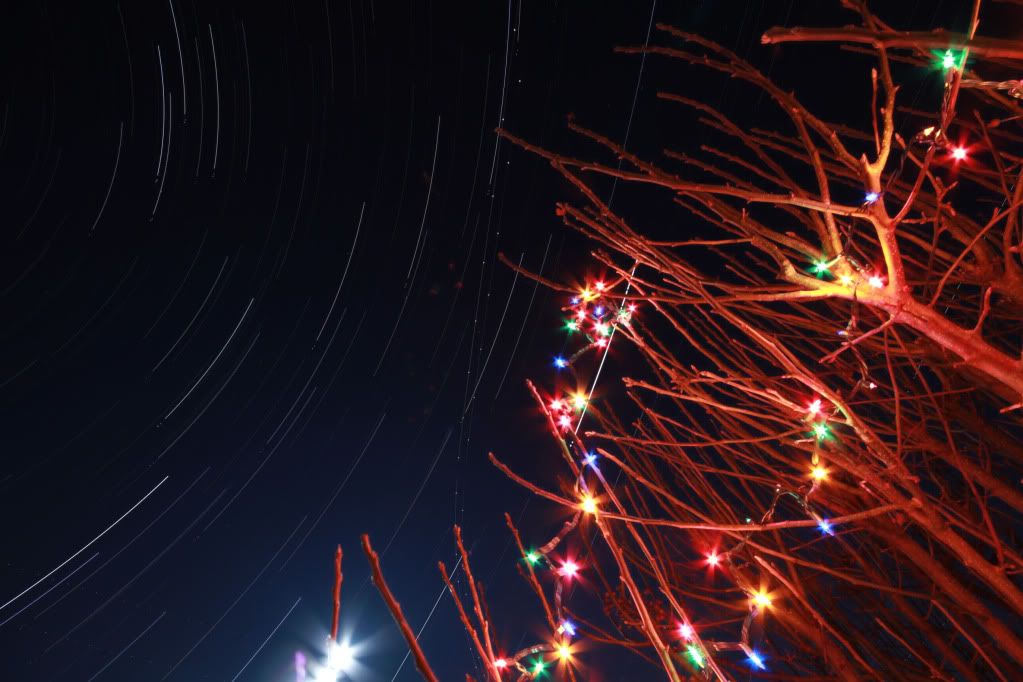
So I loaded all of the pictures into the application Preview on my iMac and one by one, scrolled through to find the outliers; the ones that blurred or had a movement in the tree. Then I started over with the action and came out with this:

Much better than the first! But you can notice gaps in the star trails where the blurry tree images were deleted before (yes, the Earth moves enough within 30 seconds to make a gap in the star trail). But the trails in the first image (the one with the blurry tree) were perfect and had no gaps, so I just simply pasted that image as a layer over this one and masked over the gaps.
But I was still not 100% happy with the tree. In a still image, the tree looked sharper and wasn't as bright. So I took a good still image and masked in some of the branches and the bright lights.
Finally, I did some basic editing: sharpen, curves, and adjusted the contrast a wee little bit. I used the patch tool to get rid of those little red flares in the center of the image. I also cropped out the moon because I found it a little distracting. All of this took me about 3 minutes.
And here we have the final image again:
You might wonder why I didn't just set my camera to bulb and leave it open for an hour and a half. That may work in locations where it's truly dark, but in most towns light pollution will be a problem. Even light that your eyes can't see, your camera will. Leaving the shutter open that long will also introduce a lot of noise. Also, rumor has it that there's the possibility of the camera's sensor being permanently damaged during exposures that long, but I don't know how true that is. Either way, the stacking option worked just fine and it seems to be what many photographers do as well.
Hopefully this helps you give star trails a whirl - even without a remote shutter release!
This is pretty awesome. Great picture!
ReplyDeleteThat's awesome!
ReplyDeleteThank you! :)
ReplyDelete